

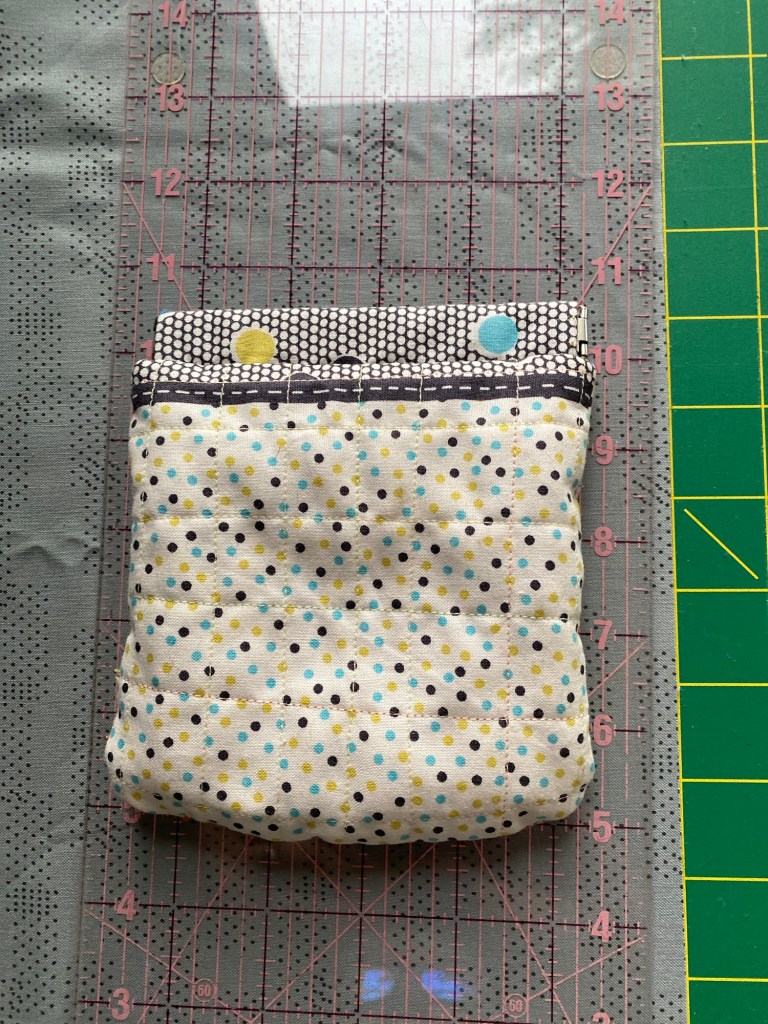
These are the Christmas pouches I made. Each have a small pieced block on the front, back is plain. I’ve been asked for the pattern. Other than the pieced blocks; this is how I made them.

I ordered this springy clip closers from Amazon. Now I needed to figure out how to make a little pouch using them. The first one ended up being a bit too small. But now I think I’ve got it figured out.
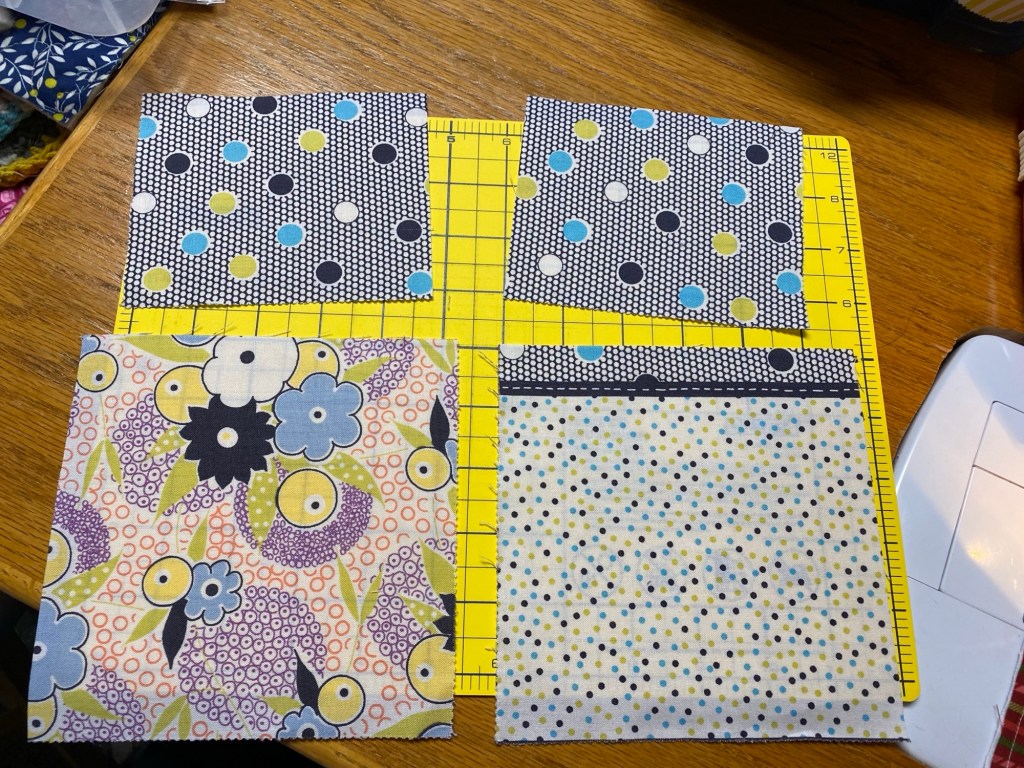
Front and back of the pouch measure 6 inch x 6 inch. The sleeve for the clip measure 5 1/2 x 4 inch. I didn’t take a picture of the lining material but it measures 6 x 6 inch.

I started with the casing. Fold the fabric good side together and stitch at each end. Turn and press
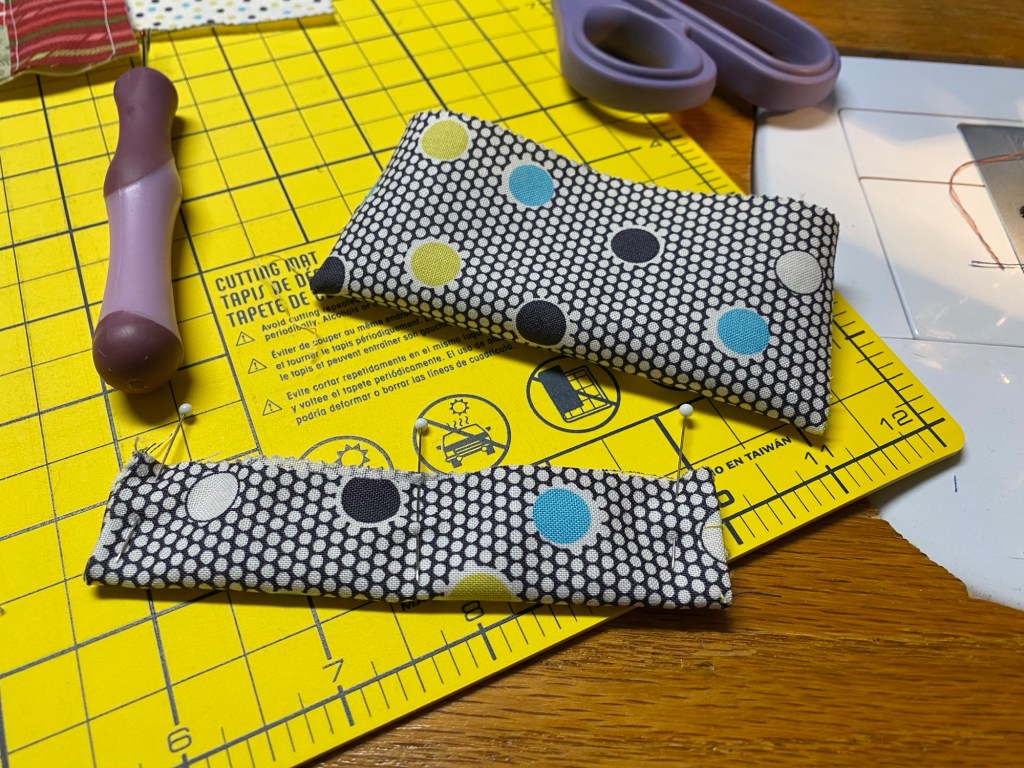
Fold in half again. Then pin at each end then find the middle and put another pin there.
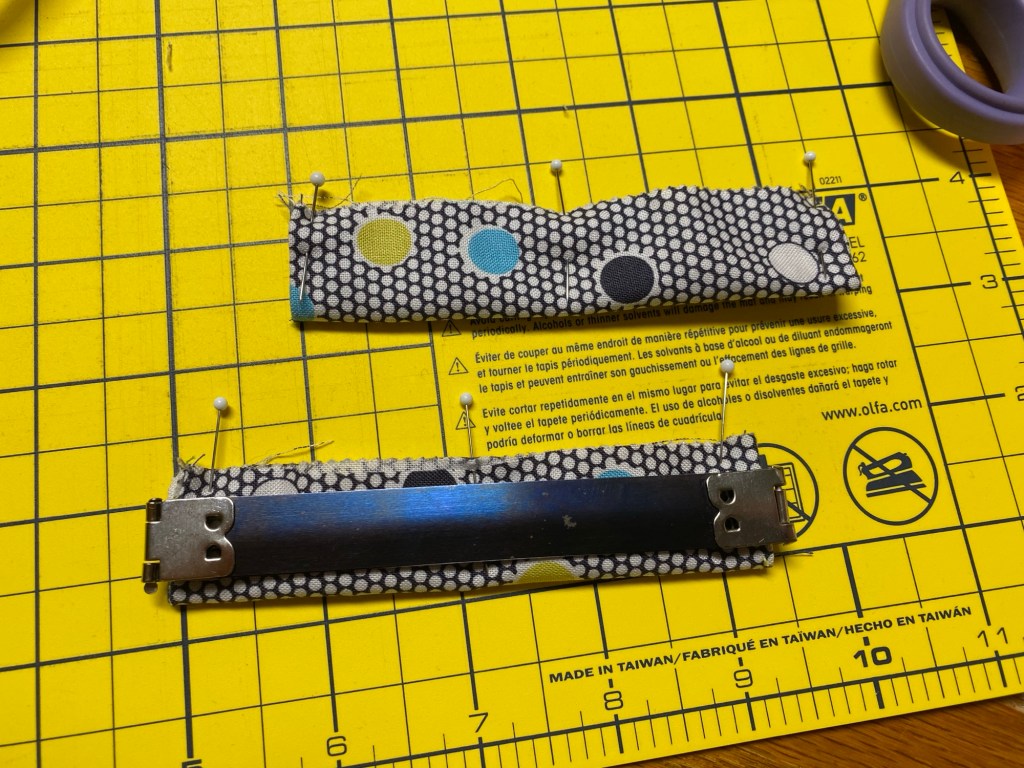
Next thing I do is place the clip on the casing to be sure it fits. I want the clip to be covered by the sleeve. I tried to sew with a 1/4 inch seam. But I was sewing on my newer machine, not my straight stitch only machine, and frankly I don’t do a very good job.

Next step is doing a little quilting on the front and back. I decided to use flannel instead of batting because I didn’t want too much bulk. So I’m stitching straight lines on a layer of flannel and cotton. I think it’s enough to give it strength, but not too bulky. After quilting I trimmed up the flannel. I also cut a little curve on the bottom.

Now to sew the sides and bottom of both the pouch and the lining. I leave about a 2 inch opening in the bottom of the lining for turning.

I find the center on each side and put a pin there. Then I pin the casing on the right side fabric.
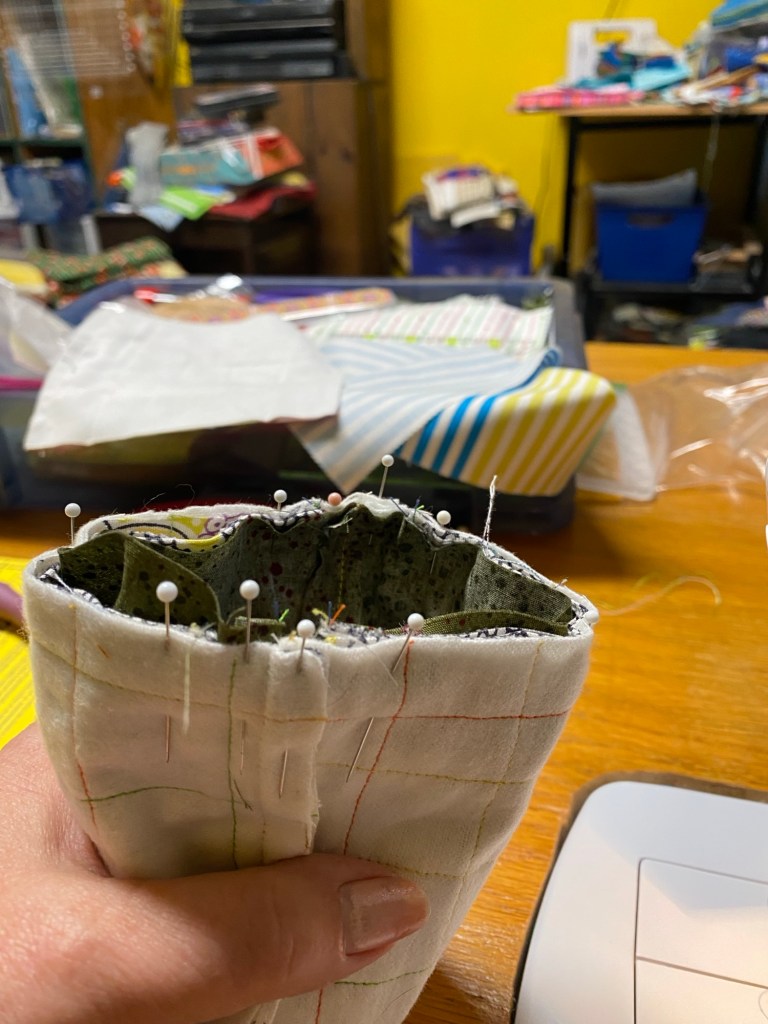
Now the lining goes inside the pouch pinning the seams and the center.
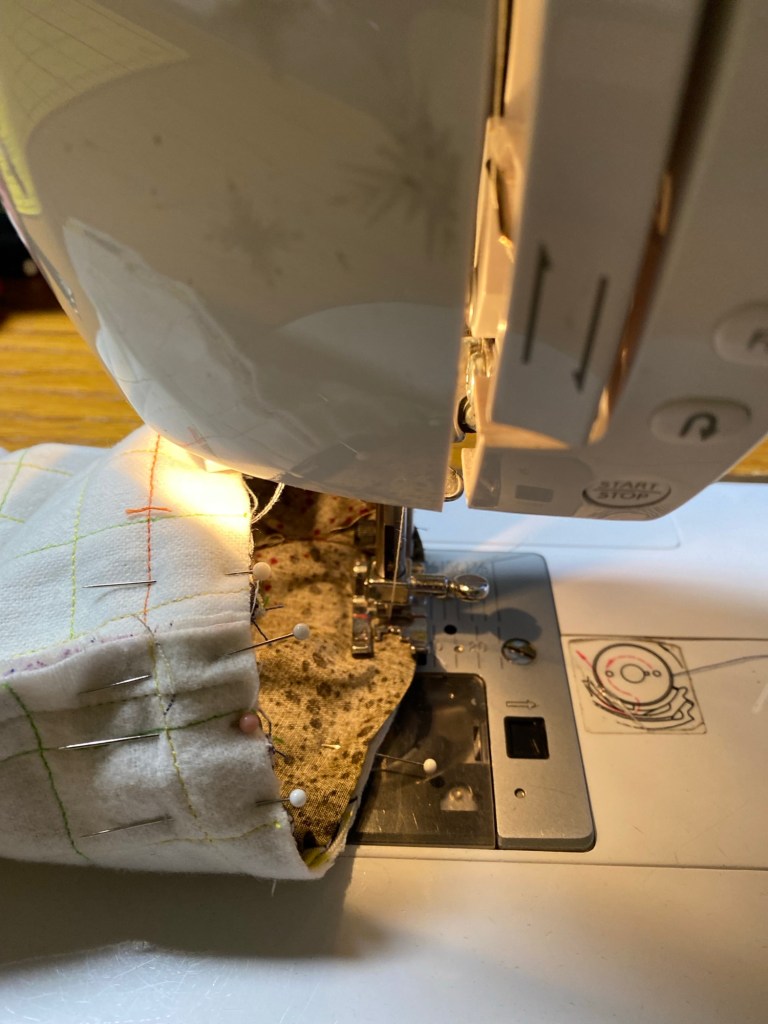
Since my machine is sitting inside an old teacher’s desk I don’t have my free arm easy to use. So I actually have my presser foot on the lining inside the pouch. When stitched together, I used that 2 inch gap in the bottom of the lining to turn it.
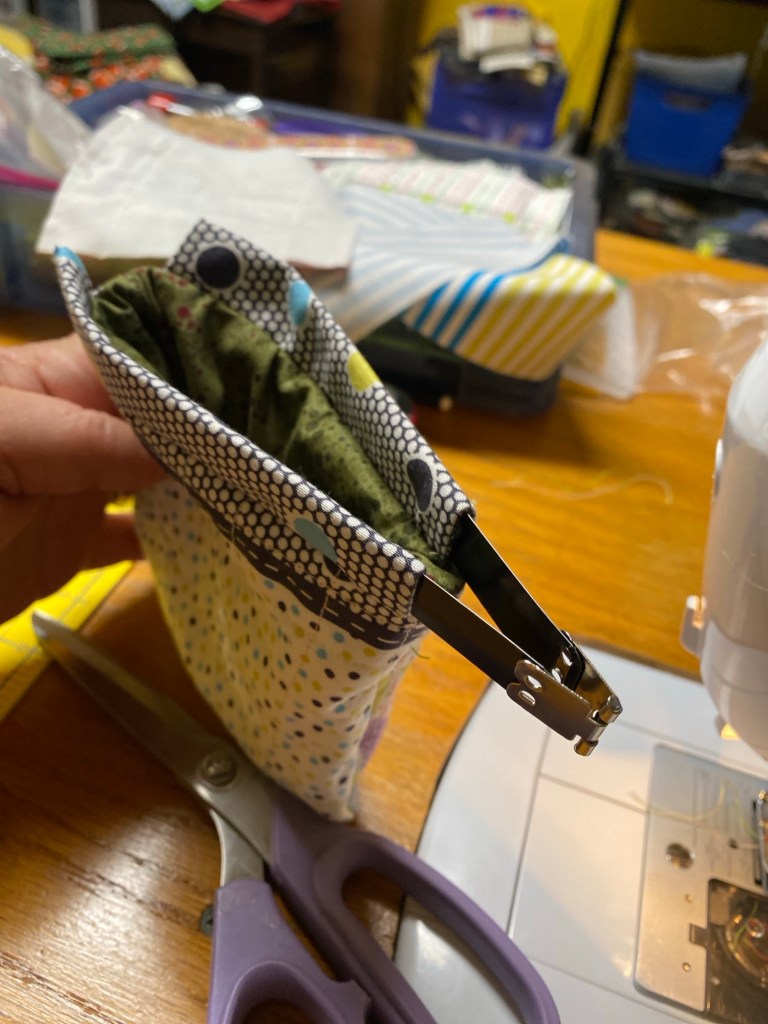
Finally slide the clip into the sleeves. Then put that tiny pin in the end and secure.
